Learning to Measure by Eye

In our Learn How series, we recommend some effective learning resources for drawing.
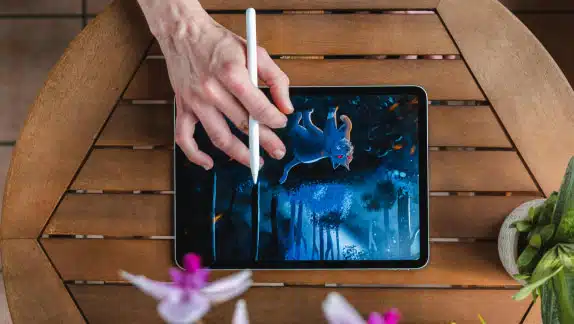
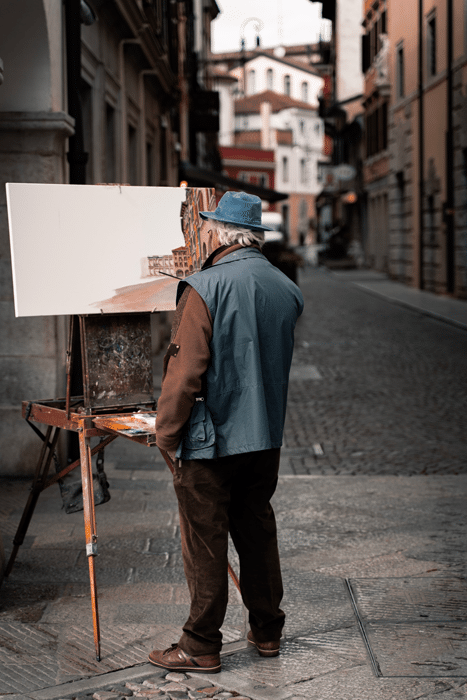
If you were playing a game of charades and were tasked with acting out a painter, chances are you might hold an imaginary brush, extend your arm, squint while you closely examine your subject and proceed to lay some strokes on your canvas. And chances are, everyone would know exactly what you were going for. But what is it exactly that this imaginary painter is doing?
They’re measuring. When drawing, it’s best to look at the subject matter objectively. And by objectively, I don’t mean literally. I mean in the abstract. An image is a collection of shapes & angles with proportions relative to one another. They work together to form the image as a whole.
Rather than looking at our subject matter through the lens of our culture and language, which limits us to describing things using the names we’ve given them, we need to look through pure abstraction.
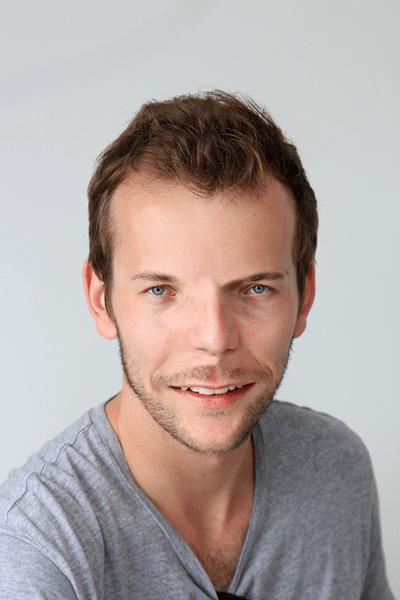
If you’ve ever tried to draw realistically using either a still life or a photo as a reference, you may have found yourself head-down, in deep concentration, perfecting each little area of your drawing only to step back an hour later and find that the entire thing is disproportionate.
So what happened?
Maybe when you were getting ready to start your portrait, the eyes caught your attention so you decided to start there. Then you thought the nose and mouth are pretty important too, so you added those next. A couple of ears and a nice haircut later and voila!
You’ve created a monster. Viewed individually, each feature is right, but it just looks… wrong.
But why?
Chances are you didn’t start with a strong foundation. Structured workflows are important. They’re designed to take us through a logical series of steps and bring us to our destination in a predictable manner. When we sit down to draw, this process begins with a rough sketch.
By jumping into details right away you invest far too heavily in your initial marks and run the risk of things not working out in the end. It’s like planning your wedding before proposing, or building your house without knowing what kind of soil lies beneath it. Things may turn out ok, but do you really want to risk it?
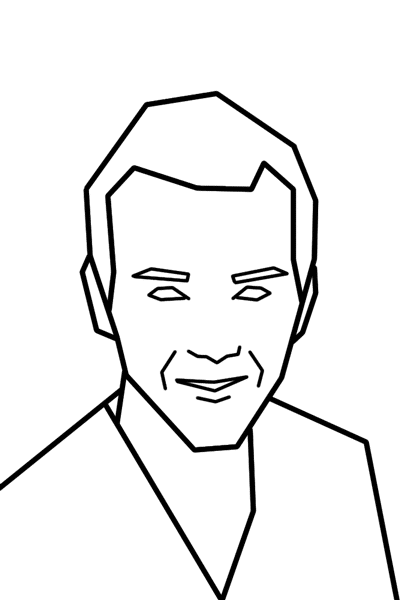
When we start with simplified forms it’s easier for us to check their proportions and size relative to one another and within the composition as a whole. From here we get a general idea of the final and can make any necessary adjustments before we commit to any details. If you nail this stage, you can relax and enjoy the rendering process knowing that if all else fails, at least our proportions will be correct. These initial marks will likely not be visible in your final, so feel free to be loose in this stage.
The general strategy will be to break the scene or object into its most simple shapes, measure them, and recreate them on the canvas. While you measure you’ll be doing a lot of back and forth between your subject and canvas and you’ll need to pay special attention to a few things in particular. When measuring the side of an object, look at its length and angle. Also, you’ll want to check the height and width of your objects to make sure your shapes are properly proportioned to one another.
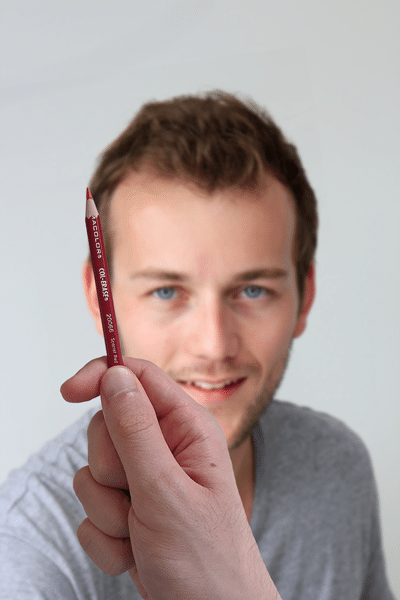
To do these things all you need is the drawing tool of your choice. Hold your tool between your thumb and index finger, with its tip pointed upwards. Extend your arm and close one eye. This will help to flatten your subject matter & make your measurements consistent.
Next, choose a side of your subject to measure and move the tip of your pencil so that from your perspective it appears to rest on that side’s corner. Then rotate the pencil to match that side’s angle, and reposition your thumb so that the tip of your thumb is touching that side’s other corner. Pay attention to the angle and use this information to create a line of equal length and angle on your canvas.
Repeat this process for the rest of the sides, using the lines you’ve already created to measure against. This technique works best if you can fully extend your arm, but if your subject matter is closer to you, just make sure your hand is at an equal distance from your face each time you measure.
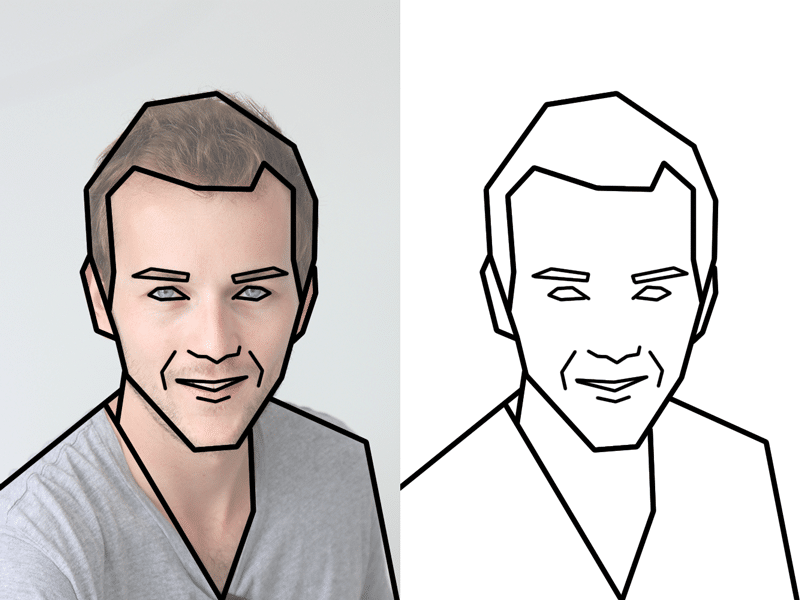
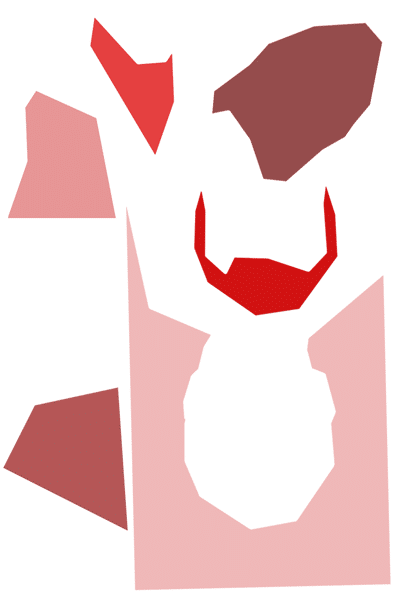
Use this technique to fully flesh out your composition. Think of all of your scene’s elements in terms of pure abstraction. Measure negative spaces, positive spaces, shadows—any groups of similar color and value. With a little practice and patience, you’ll soon be making faithful recreations of your reference.
Measuring helps to reveal the underlying framework and understand what you’re looking at. It also serves as a basis for further study in areas like perspective and anatomy. It can be tricky to get the hang of at first, but over time you’ll develop a feel for it and your arm and eyes will start to work together in harmony.

Taylor is a concept artist, graphic designer, illustrator, and Design Lead at Weirdsleep, a channel for visual identity and social media content. Read more articles by Taylor.
RELATED ARTICLES:


SESSIONS NEWS:

ENROLL IN AN ONLINE PROGRAM AT SESSIONS COLLEGE: