


Career Resources

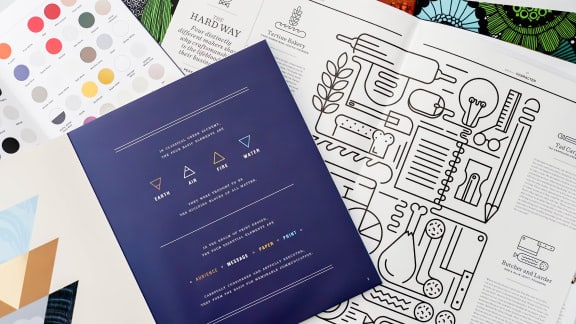
A Guide to Color Theory
Color has a way of connecting with all of us. Color theory explains why.
February 20, 2025

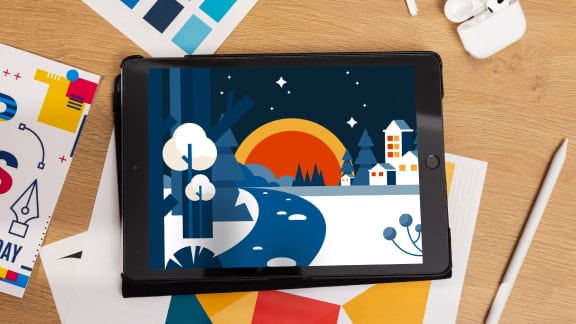
Here’s How to Create an Illustration Portfolio That Clients Love
Tips for showcasing your work to attract top clients.
February 19, 2025
Latest Post

The Hottest Graphic Design Trends for 2025
Ten trends that we predict will shape graphic design in 2025.
January 23, 2025

What Is Digital Media?
Discover what digital media is, its key types, and why it matters.
January 13, 2025

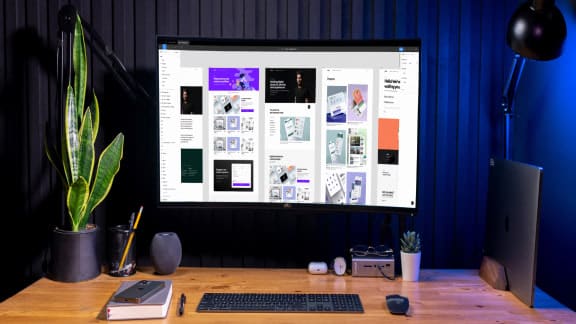
How to Become a Web Designer: A Complete Guide
Web designer live at the intersection of creativity and technology. Read our guide to find out what it takes to become one.
December 19, 2024

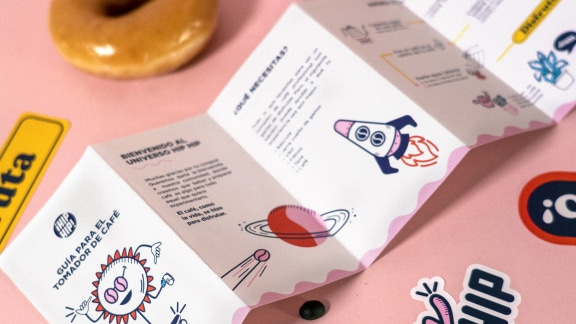
How to Become an Illustrator: A Complete Guide
Tips for how to get started in a career as an illustrator.
December 10, 2024

How to Become a Photographer: A Career Path with Many Doors
Curious about how to become a photographer? Read about the required skills and attributes.
December 10, 2024

Art Careers: Everywhere an Art Degree Can Take You in 2025
How to turn your passion into a successful profession in the creative industry.
December 6, 2024

How Much Do Graphic Designers Make? 2025 Guide
Discover what’s shaping the future of graphic design salaries in 2025.
November 28, 2024

Film Careers: Exploring Career Paths in the Film Industry
Discover pathways to success in the dynamic world of filmmaking and digital media.
November 25, 2024

How to Become a Digital Marketer: A Complete Guide
Essential steps, skills, and resources to launch your digital marketing career.
November 25, 2024

How to Become a Content Creator: Career Guide
What skills are required for the exciting new career of content creator?
November 20, 2024

How to Become a Graphic Designer: A Powerful Modern Skillset
What exactly is a graphic designer, and how do you begin to train for this creative field?
November 14, 2024

Must-Learn Apps for Designers & Creatives: Beginner’s Guide
What are the best apps for aspiring creatives to learn?
November 10, 2024

Top Graphic Design Conferences to Attend in 2025
Find out what design conferences to attend in 2025.
October 1, 2024