Using Mood Boards to Develop Your Brand
by Margaret Penney | February 17, 2017

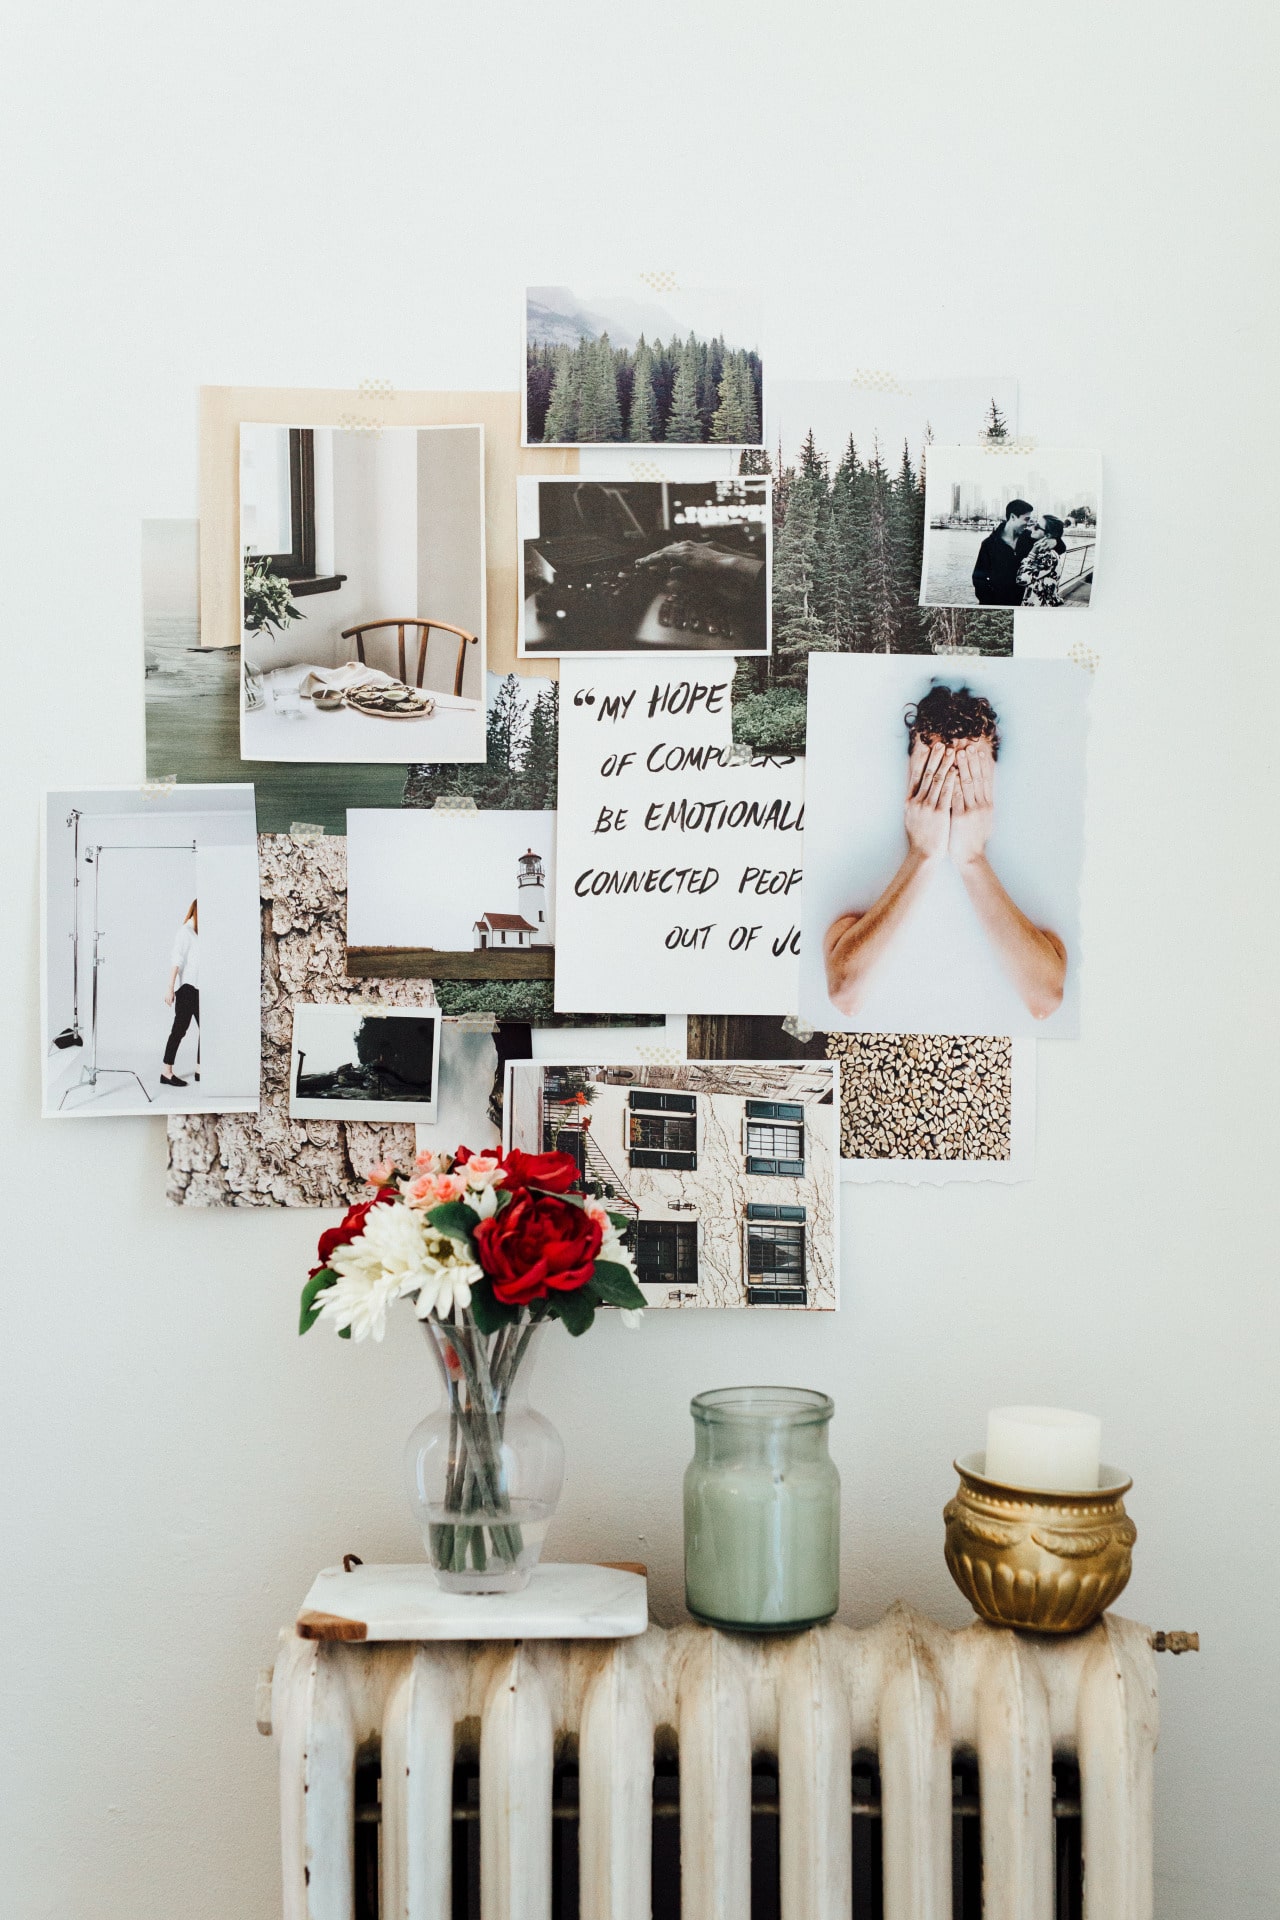
The first “client project” many new designers take on is the one where they are the client. Good news, one great way to learn how to develop a brand is to start with your very own. Start by developing a mood board that includes colors, typography, illustration, photos, textures, and patterns that relate to your brand and reflect its visual message.
Developing a mood board is a process of exploration and not set in stone. You can collect everything that inspires you from the get go. Afterwards, and once you have gathered everything you like, you can edit the board down to essential brand elements and inspiration points.
1. Gather
The first step in creating a mood board is to gather your materials. Collect photos, fonts, patterns, colors, and advertisements, or paint chip samples, example designs, art, architecture—anything that inspires. Remember as you are gathering that you will not be copying any of this work and are only using it as inspiration. The best designs are not repetition but more a conversation with what has existed before.
2. Arrange
If you have a printer and wall space you are lucky and can make a traditional mood board using hands-on techniques. Arrange the elements on your wall and try to group them by their visual style or what they are. If you do not have a wall or printer on hand you can use Illustrator or Photoshop or a website like Pinterest to create mood boards.
3. Edit
Depending on how clear you are already about your brand image and visual direction this part of the process can be effortless or quite difficult. You may find yourself with two different visual directions or simply with too much inspiration. If this is the case, a good way forward is to tell yourself you’ll use what you’re editing out for other projects and cut away at the mood board until you have only the essential design elements.
Another approach is to leave the mood board for a day or two and let your thoughts regarding your design discovery percolate and settle. At the very least you may want to wait until the next day and then with a fresh take on your research, edit the board.
4. Assemble
Once you’ve edited your board down to your key branding inspiration you can now group the elements by font, color, pattern and texture and image and have the mood board start to resemble more the layout and visual structure of what your branding guide will look like. Organizing it this way makes it easier for you to correlate the ideas to the final branding exercise and helps to develop a more cohesive and strong brand image.

Margaret Penney is the Managing Editor of Notes on Design. Margaret is a teacher, designer, writer and new media artist and founder of Hello Creative Co.
Are you interested in sharpening your business skills? Sessions College offers a wide range of advertising and marketing courses. Contact Admissions for more information.


